Microservices media extractor relies on Docker to isolate heavy dependencies
Scraping and processing media from more than 1,000 platforms—including TikTok, YouTube, and Instagram—becomes unmanageable when forced into a single monolithic application. Completion of FastMedia Downloader highlighted that the crucial insight lay not in the extraction process but in separating heavyweight dependencies via a microservices design. Encountering version clashes with FFmpeg or yt-dlp on a host system often disrupts the entire development environment, which explains the immediate adoption of Docker.
Architecture Overview
- Backend Service: Backend component runs on FastAPI under Python 3.11, acting as the orchestrator that processes asynchronous requests, inspects media, and performs conversion using custom wrappers around yt-dlp and FFmpeg.
- Frontend Service: Frontend part is a Next.js application written in TypeScript and styled with Tailwind CSS, delivering a lightweight UI for rapid link parsing and offering internationalization support.
- Orchestration: Docker Compose coordinates both containers, enabling the entire stack to start with the single command docker-compose up.
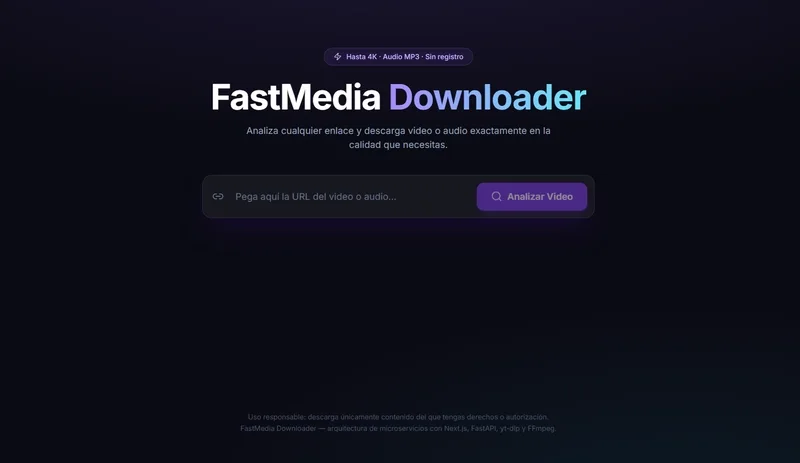
Managing Async Workflow
Latency control during media inspection became essential; upon receiving a link, the API should stay responsive while backend communicates with third‑party servers. FastAPI was configured to handle metadata extraction as an asynchronous operation, allowing the service to keep response times low even when external APIs respond slowly.
Containerizing System Dependencies
The decisive tip involved embedding system‑level binaries inside the backend container rather than relying on host installations. Below is a minimal representation of the Docker configuration that achieves this consistency:
# Example snippet of the backend environment setup
FROM python:3.11-slim

# Install system dependencies directly in the container
RUN apt-get update && apt-get install -y \
    ffmpeg \
    yt-dlp \
    && rm -rf /var/lib/apt/lists/*

WORKDIR /app
COPY requirements.txt .
RUN pip install --no-cache-dir -r requirements.txt
COPY . .

CMD ["uvicorn", "main:app", "--host", "0.0.0.0", "--port", "8000"]
Embedding the binaries guarantees that the “works on my machine” promise extends to every deployment environment, whether local development or cloud‑based production.
Deployment and CI/CD
A conventional DevOps pipeline maintains repository hygiene; GitHub Actions execute CI/CD steps, and Dependabot monitors vulnerability reports. The repository lives at https://github.com/Llamas126/fastmedia-downloader.
All Replies (4)
Want a live back-and-forth? Join the global AI chat room — login to talk.
Decoupling is a game changer, especially when paired with scalable solutions like FastMedia Downloader—which handles high-volume tasks efficiently by breaking workflows into microservices. I’ve seen how its parallel processing (leveraging Redis for task queues) ensures backlogs are processed without bottlenecks, even during peak loads.
RabbitMQ saved my sanity with scraping spikes. I'm using it in a microservices-based setup to handle video and media downloads, similar to the FastMedia Downloader you mentioned. We've integrated RabbitMQ to manage our task queue, ensuring smooth processing even during spikes. Which message queue are you using for your setup?