Claude Code and MCP make Brilliant.
I decided to put Brilliant.design through a real-world stress test. Instead of starting with a blank canvas, I imported a developer portfolio I had in Figma to see if the tool could actually handle an existing design system or if it would just hallucinate a new one.
The MCP and Codex Integration
The most interesting part of the setup is the Model Context Protocol (MCP) connection. By connecting OpenAI Codex via MCP, I could essentially treat the visual canvas as a data source for the terminal. This isn't just "chatting with a bot"; the agent can actually inspect the canvas elements and modify them.
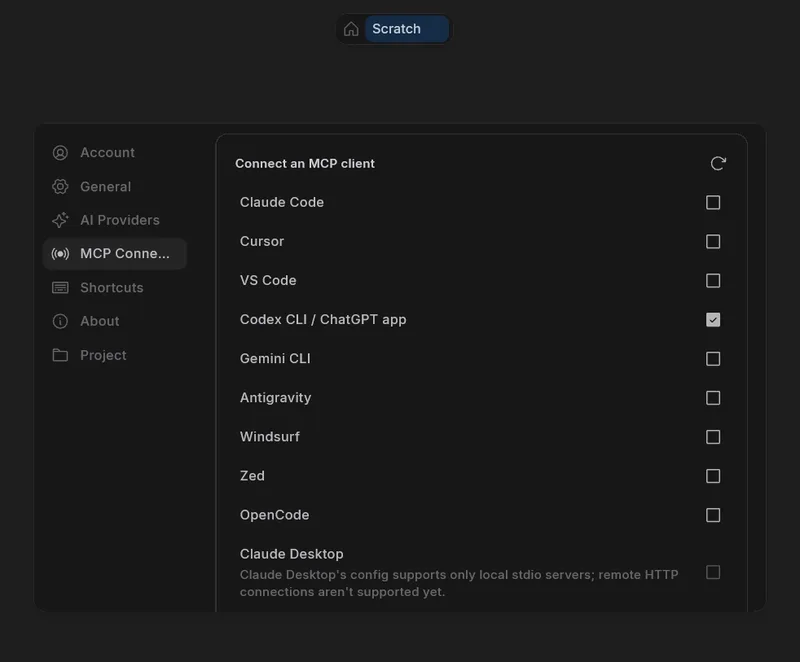
I tested this by asking Codex to analyze the imported portfolio's styling—specifically the border radius, spacing, and typography—and then requested a new section. Because it was reading the actual design properties through the MCP bridge, the generated elements actually matched the existing design system rather than just "looking similar."
Testing the Design-to-Code Pipeline
For those of us who care about the actual implementation, the "Blueprint" language is the secret sauce here. It's a compact representation of the canvas elements and their relationships, which means the AI isn't just guessing based on pixels.
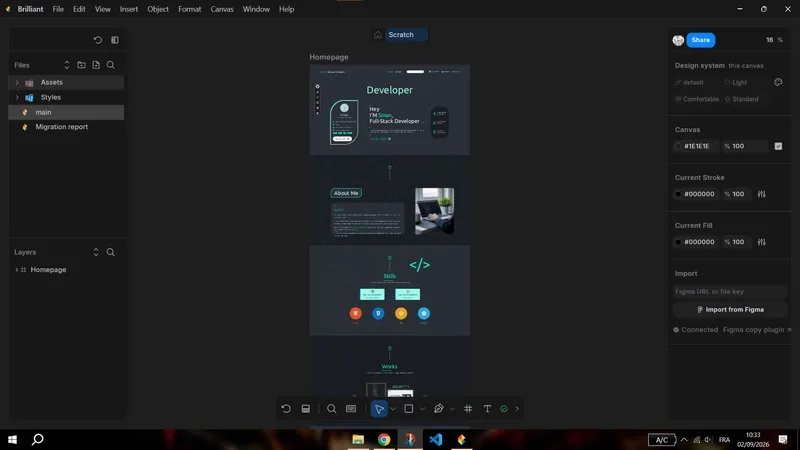
If you're trying to set up a real-world deployment, here is the general workflow I followed:
1. Import the Figma file (this brings over vectors, auto-layout, and fills as editable objects).
2. Use the MCP connection to link an AI agent (like Codex) to the project.
3. Run a command to inspect the existing design tokens.
4. Generate new canvases (e.g., a "Projects" page) based on the homepage's established patterns.
5. Export the final result.
The export options are decent, covering the basics like HTML/CSS and SVG, but the React export is where the value is. Because the AI agent can read the design via MCP, you can feed those design specs directly into a coding agent to implement the UI in your codebase.
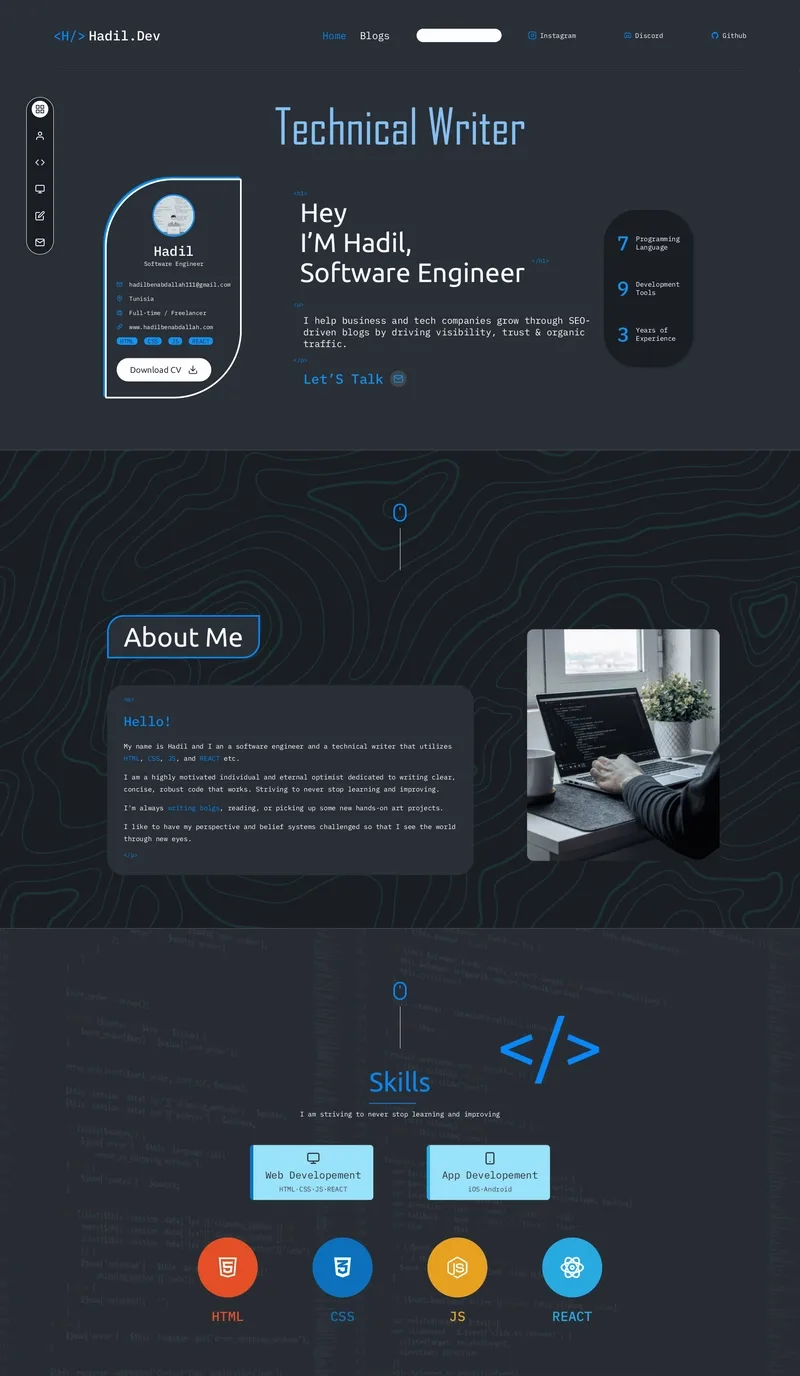
- Figma Import: Full support for auto-layout and vectors; not just a static image.
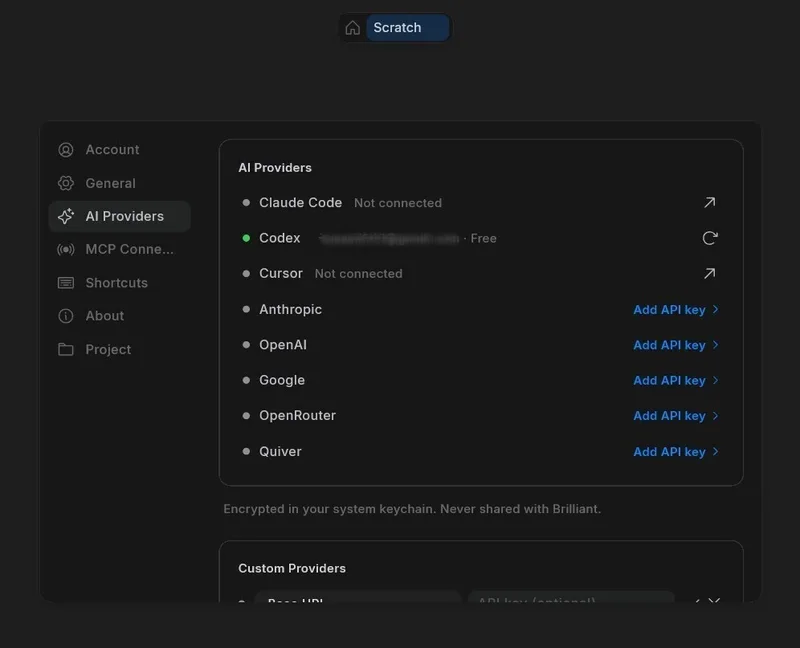
- AI Providers: Supports Codex and several other agents as built-in providers.
- Output Formats: React, HTML, CSS, SVG, and PDF.
- State Management: The "Playground" mode allows you to test AI workflows using bundled demos before you even connect your own API keys.
The real win here is that the design becomes a living part of the AI-assisted workflow. Instead of a hand-off where a designer gives a dev a Figma link and the dev spends three hours trying to find the exact hex code for a shadow, the agent just reads the Blueprint and writes the CSS. It turns the design phase into a structured data problem rather than a visual guessing game.