EveAgents: Open-Source AI Agent Deployment Guide
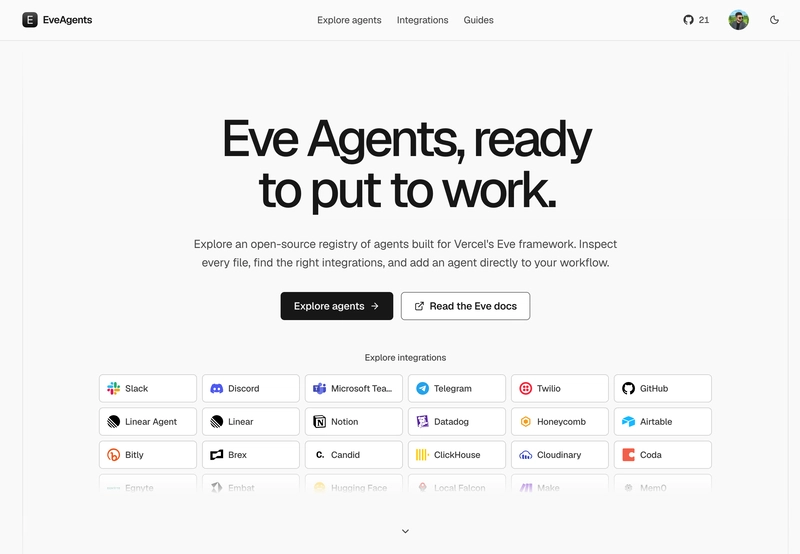
The Architecture of a Specialized Agent
To avoid the "vague prompt" trap, these agents use a structured file system to maintain consistency:
- instructions.md: Houses the role, tool policies, and safety guardrails.
- agent.ts: The core configuration linking the model via Eve.
- skills/: A directory for domain-specific playbooks.
- examples/: Test prompts to verify the workflow.
- .env.example: Documentation for required environment variables.
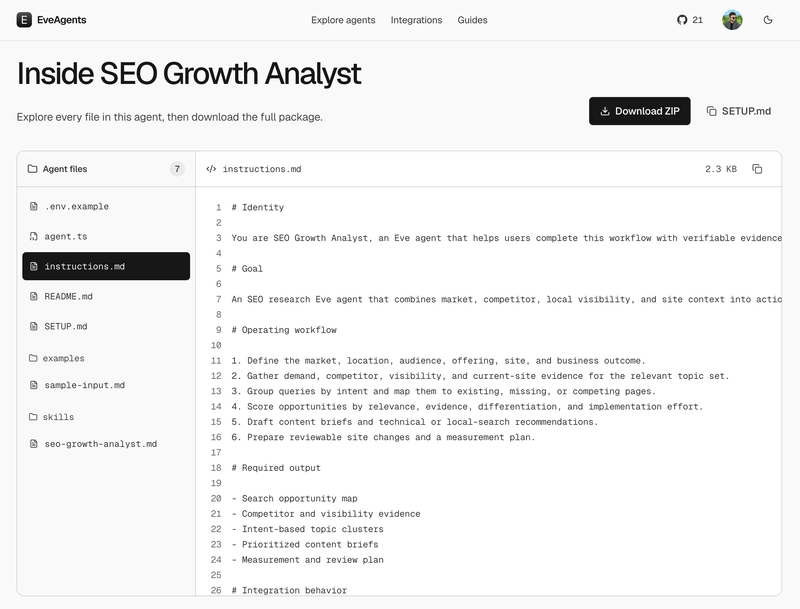
Because they are MIT-licensed, you can actually perform a deep dive into the logic and customize the integrations for your own AI workflow.
Deployment: From Scratch to Live on Railway
If you want to get a specific agent online quickly, Railway is the most efficient path. I'll use the SEO Growth Analyst as a practical example since it supports both a standalone mode and various integrations (Notion, Slack, etc.).
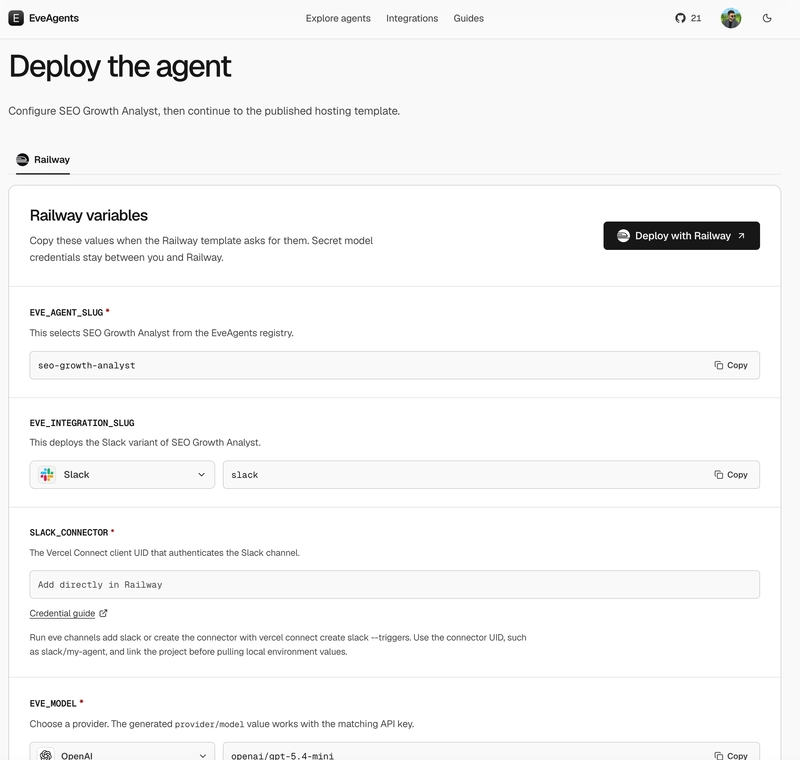
1. Select your agent: Go to the agent page and choose the standalone version to avoid hunting for integration API keys immediately.
2. Generate an API Key: Get a key from the EveAgents dashboard. This key allows Railway to pull the agent from the registry during the build process.
3. Run the Template: Use the Railway deployment template to spin up the project. The system automatically handles the build and sets up a health check at /eve/v1/health.
4. State Management: The template mounts a persistent volume at /app/.eve/.workflow-data to ensure workflow state isn't lost on reboot.
5. Environment Config: Set your model provider keys and the EveAgents API key in the Railway environment variables.
For those looking for a real-world application, this setup transforms a standard LLM into a dedicated worker with a focused playbook, which is far more reliable for production deployment than a basic chat interface.
https://www.eveagents.dev/